Seal Air Leaks: A Weekend Project to Reduce Your Energy Loss by 8% (Practical Solutions)
Are you tired of skyrocketing energy bills? Do you feel drafts even when your heating or air conditioning is running full blast? You’re not alone. Many homeowners overlook one of the simplest yet most effective ways to save energy and improve home comfort: sealing air leaks. This isn’t just about minor discomfort; studies show that effectively addressing and sealing air leaks can reduce your home’s energy loss by a significant 8% or more. Imagine what an 8% reduction could do for your annual utility expenses! The best part? This isn’t a job for professionals only. With a little planning and a weekend’s worth of effort, you can transform your home into a more energy-efficient and comfortable haven.
This comprehensive guide will walk you through everything you need to know about how to effectively seal air leaks in your home. We’ll cover why air sealing is crucial, how to identify the culprits, the tools you’ll need, and practical, step-by-step instructions for tackling common problem areas. Get ready to embark on a rewarding DIY project that pays dividends in comfort and savings.
Why Sealing Air Leaks is Crucial for Your Home and Wallet
Before we dive into the ‘how-to,’ let’s understand the ‘why.’ Air leaks are essentially uncontrolled ventilation. While some ventilation is necessary for indoor air quality, excessive air leakage means conditioned air (heated in winter, cooled in summer) is constantly escaping your home, and unconditioned air is sneaking in. Your HVAC system then has to work harder and longer to maintain your desired indoor temperature, leading directly to higher energy consumption and, consequently, higher utility bills.
Beyond the financial impact, air leaks contribute to a range of other issues:
- Reduced Comfort: Drafts make rooms feel colder in winter and warmer in summer, even if your thermostat says otherwise. This leads to uneven temperatures throughout your home.
- Moisture Problems: Air leaks can bring moisture into wall cavities, attics, and basements, potentially leading to mold growth, rot, and compromised indoor air quality.
- Dust and Pollen: Unsealed gaps act as pathways for dust, pollen, and other allergens to enter your living space, impacting indoor air quality and potentially exacerbating allergies.
- Pest Infestation: Small cracks and openings are inviting entry points for insects and rodents looking for shelter.
- Noise Pollution: Gaps in your home’s envelope can also allow more outdoor noise to penetrate, making your home less peaceful.
By taking the time to seal air leaks, you’re not just saving money; you’re investing in a healthier, more comfortable, and quieter living environment. It’s one of the most cost-effective home improvement projects with a quick return on investment.
Identifying the Culprits: Where Do Air Leaks Hide?
The first step to effectively sealing air leaks is knowing where to look. Air leaks are often found where different building materials meet, or where penetrations have been made through the building envelope. Here are the most common areas:
Windows and Doors
These are the most obvious culprits. Look for gaps around the frames, between the frame and the wall, and beneath doors. Old, worn-out weatherstripping and caulk are prime offenders.
Electrical Outlets and Switch Plates
Surprisingly, these small openings on exterior walls can be significant sources of air leakage. The gaps around the electrical boxes allow air to infiltrate from within the wall cavity.
Plumbing Penetrations
Wherever pipes enter or exit your home (under sinks, behind toilets, laundry rooms), there are often gaps that allow air to pass through.
Attic Hatch/Pull-Down Stairs
An unsealed or poorly insulated attic access point can act like a giant hole in your ceiling, allowing a massive amount of conditioned air to escape into the attic.
Recessed Lighting and Ceiling Fans
These fixtures often create pathways for air to move from the conditioned space into the attic or ceiling cavity.
Foundation and Rim Joists
In basements and crawl spaces, gaps where the foundation meets the wood framing (rim joists) can be significant sources of air leakage, often overlooked.
Ductwork
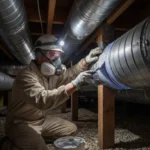
Leaky ductwork in unconditioned spaces (attics, crawl spaces, basements) can lead to substantial energy loss, as conditioned air escapes before reaching its destination. While this is a different type of leak, it’s worth considering as part of a comprehensive energy-saving strategy.
Fireplaces and Chimneys
Even with the damper closed, older fireplaces can be leaky. Also, look for gaps where the chimney penetrates the ceiling or wall.
The Weekend Project Checklist: Tools and Materials You’ll Need
Before you begin your quest to seal air leaks, gather your arsenal. Having the right tools and materials on hand will make the job much smoother and more efficient. Most of these items are readily available at any hardware store.
Essential Tools:
- Caulk Gun: For applying caulk smoothly and evenly.
- Utility Knife or Scraper: To remove old caulk and weatherstripping.
- Scissors: For cutting weatherstripping and foam.
- Tape Measure: For accurate measurements.
- Flashlight: Crucial for inspecting dark areas like attics and crawl spaces.
- Gloves: To protect your hands from sealants and insulation.
- Safety Glasses: Especially when working with spray foam or in dusty attics.
- Screwdriver Set: For removing outlet covers and other fixtures.
Key Materials:
- Caulk: Choose a high-quality, paintable acrylic latex caulk with silicone for interior use around windows, doors, and trim. For exterior applications, opt for a durable, flexible silicone or polyurethane caulk.
- Weatherstripping: Various types exist (foam, rubber, vinyl, metal). Choose the right type for doors and windows based on the gap size and expected wear. Self-adhesive foam strips are easy for DIY.
- Expanding Spray Foam: Ideal for larger gaps and cracks (up to 3 inches) in areas like pipe penetrations, around electrical boxes, and in the attic. Use a low-expansion foam for smaller gaps around windows and doors to avoid warping frames.
- Gaskets/Foam Gaskets: Specifically designed foam gaskets for electrical outlets and switch plates are inexpensive and highly effective.
- Duct Mastic or Foil Tape: For sealing leaky ductwork (not traditional cloth duct tape, which degrades over time).
- Insulation: Batt insulation or rigid foam board for larger attic or crawl space openings, especially around attic hatches.
- Plastic Sheeting/Film: For temporary window sealing in extremely drafty windows.
Step-by-Step Guide to Sealing Air Leaks
Now, let’s get to the practical application. We’ll break down the process by common problem areas, allowing you to tackle them systematically over your weekend.
1. Windows and Doors: The Front Lines of Air Leaks
This is often the easiest place to start and where you’ll see immediate results.
- Inspect Existing Seals: Check old caulk around window and door frames. If it’s cracked, brittle, or peeling, it needs replacement. Test weatherstripping by closing a piece of paper in the door/window; if it slides out easily, the seal is poor.
- Remove Old Caulk/Weatherstripping: Use a utility knife or scraper to carefully remove old caulk. Peel off worn-out weatherstripping. Clean the surfaces thoroughly.
- Apply New Caulk: Cut the tip of the caulk tube at a 45-degree angle, making an opening just wide enough for the gap. Apply a continuous, even bead of caulk along all stationary joints where the window/door frame meets the wall. Smooth with a wet finger or caulk tool for a neat finish.
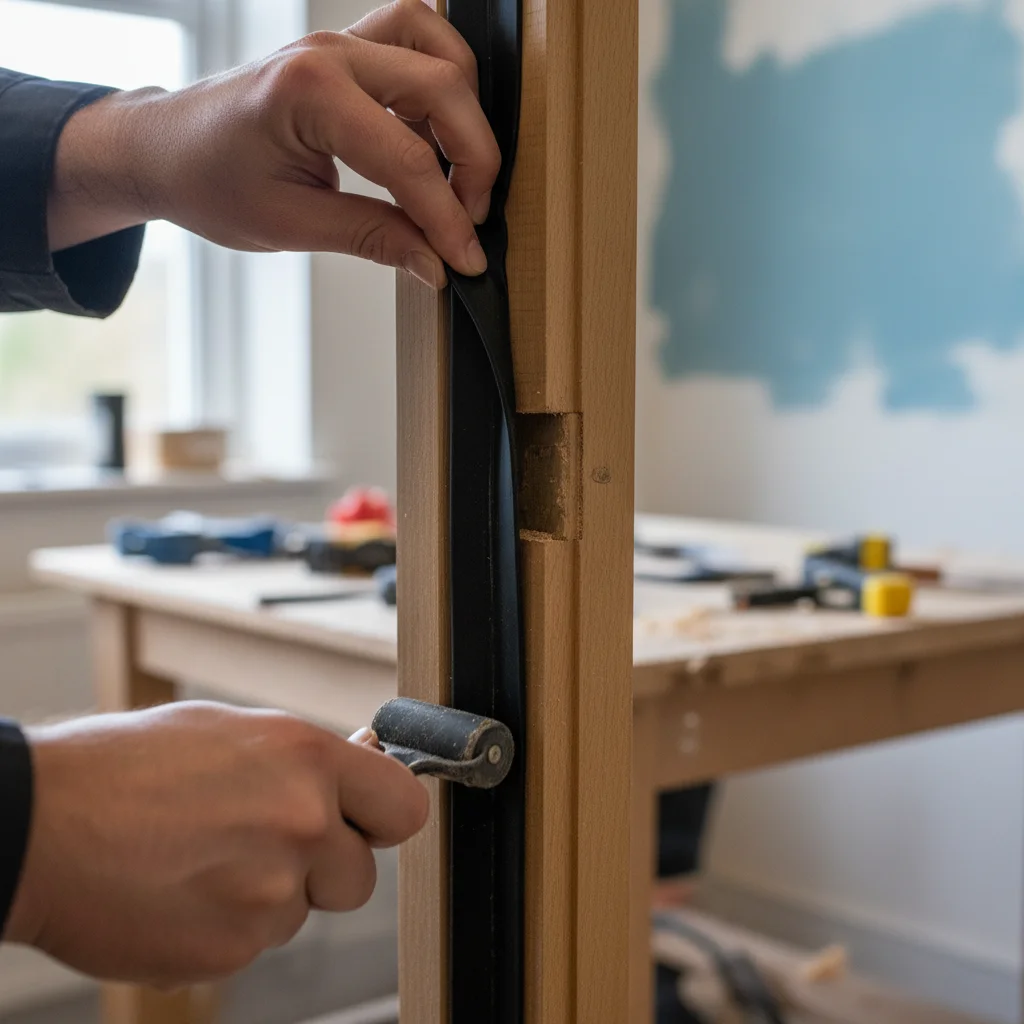
- Install New Weatherstripping: For doors, apply self-adhesive foam or rubber weatherstripping along the top and sides of the door frame where the door meets the frame. For windows, apply it along the sashes. Ensure a tight seal when the door/window is closed.
- Door Sweeps/Thresholds: For gaps under doors, install a door sweep (attached to the bottom of the door) or a new threshold with an integrated seal.
2. Electrical Outlets and Switch Plates on Exterior Walls
A surprisingly effective fix for a common leak point.
- Safety First: Turn off power to the circuit at the breaker box before handling any electrical components.
- Remove Covers: Unscrew and remove the plastic covers for outlets and switches on exterior walls.
- Install Gaskets: Place pre-cut foam gaskets behind the covers. These are designed to fit perfectly around the outlet or switch mechanism.
- Replace Covers: Screw the covers back into place.
- Caulk (Optional): For very leaky boxes, you can apply a small bead of caulk around the inside edge of the electrical box before replacing the cover (ensure caulk does not enter the box itself).
3. Plumbing and Utility Penetrations
Check areas where pipes, wires, and vents enter or exit your home.
- Locate Gaps: Look under sinks, behind toilets, near washing machines, and where dryer vents or cable lines pass through walls or floors.
- Seal Small Gaps: For gaps up to about 1/4 inch, use caulk.
- Seal Larger Gaps: For gaps between 1/4 inch and 3 inches, use expanding spray foam. Apply sparingly, as it expands significantly. Trim excess foam with a utility knife once cured.
- Exterior Penetrations: Don’t forget exterior areas like outdoor faucets, hose bibs, and air conditioner line sets. Use exterior-grade caulk or sealant.
4. Attic Access Points (Hatch or Pull-Down Stairs)
This can be one of the biggest sources of energy loss, as warm air rises and escapes into the unconditioned attic.
- Weatherstrip the Hatch: Apply self-adhesive foam weatherstripping around the perimeter of the attic hatch opening or the frame of the pull-down stairs. Ensure a tight seal when closed.
- Insulate the Hatch: If your attic hatch is just a thin piece of plywood, it’s also a source of heat transfer. Create an insulated cover by gluing rigid foam board to the top of the hatch or building a simple insulated box to place over the opening in the attic.
- Seal Gaps Around Framing: Use caulk or expanding foam to seal any gaps between the attic hatch frame and the ceiling joists.
5. Recessed Lighting and Ceiling Fans
These fixtures often have gaps that lead directly into the attic.
- Safety First: Turn off power to the circuit at the breaker box.
- Inspect Fixtures: Look for gaps where the fixture housing meets the drywall.
- Seal Gaps: For non-IC (insulation contact) rated lights, you cannot cover them with insulation or spray foam directly. Instead, use a bead of fire-rated caulk around the perimeter where the fixture meets the ceiling. For IC-rated lights, you can use expanding foam around the housing in the attic space, but be careful not to obstruct ventilation holes if present.
- Air Barrier Kits: Consider purchasing specialized recessed light air sealing kits available at hardware stores for a more robust solution, especially for older fixtures.
6. Basement and Crawl Space Rim Joists
This area is often overlooked but can be a major source of air leakage and moisture intrusion.
- Identify Rim Joists: These are the perimeter boards that sit on top of your foundation, where the floor joists end.
- Seal Gaps: Use expanding spray foam to seal any gaps between the rim joists, the sill plate (the wood resting directly on the foundation), and the subfloor above. Be thorough, as these areas can have numerous small cracks and crevices.
- Insulate (Optional but Recommended): Once sealed, you can add rigid foam board insulation or cut pieces of batt insulation snugly into the rim joist cavities for added thermal performance.
7. Leaky Ductwork in Unconditioned Spaces
While not strictly an ‘air leak’ from the outside, leaky ducts can waste a tremendous amount of energy.
- Locate Leaks: In your attic, crawl space, or basement, visually inspect all ductwork. Look for gaps at joints, seams, and where ducts connect to registers. You can also feel for escaping air with your hand.
- Seal with Mastic or Foil Tape: Apply duct mastic (a paste-like sealant) directly over all seams and joints, ensuring a thick, continuous coating. Alternatively, use UL-listed foil-backed tape specifically designed for duct sealing. Do NOT use standard cloth duct tape, as it will fail over time.
Advanced Techniques and Tips for the Diligent DIYer
For those looking to go the extra mile, here are a few advanced tips to enhance your air sealing efforts:
The Smoke Pencil or Incense Test
For hard-to-find leaks, use a smoke pencil (available at home improvement stores) or a stick of incense. On a windy day, or with a fan blowing air out of your house (creating negative pressure), hold the smoke source near suspected leak areas. If the smoke stream is pulled inward, you’ve found a leak.
Blower Door Test
For a professional-level assessment, consider hiring an energy auditor to perform a blower door test. This test depressurizes your home, making air leaks much more apparent and measurable, providing a detailed report of where your home is losing the most air.
Prioritize Your Efforts
While sealing every tiny crack is ideal, prioritize the largest and most accessible leaks first. Attics, basements/crawl spaces, and around windows/doors typically offer the biggest bang for your buck.
Don’t Forget the Exterior
While much of this guide focuses on interior sealing, remember to check the exterior of your home for cracks in the foundation, gaps around utility lines, and deteriorated caulk around window and door frames. Use exterior-grade, UV-resistant caulk for these areas.
Ventilation Considerations
While sealing air leaks is crucial, remember that some natural ventilation is necessary. In very tightly sealed homes, controlled mechanical ventilation systems (like exhaust fans or heat recovery ventilators) might be necessary to ensure good indoor air quality. However, for most older homes, uncontrolled air leakage far exceeds necessary ventilation.
Measuring Your Success: The 8% Energy Saving Goal
The claim that sealing air leaks can reduce energy loss by 8% is not an exaggeration. The U.S. Department of Energy estimates that air sealing can save homeowners an average of 10% to 20% on heating and cooling costs. An 8% reduction is a conservative and achievable goal for a dedicated weekend project focusing on common leak points.
How can you verify your savings? The most straightforward way is to compare your utility bills from before and after your air sealing project. Look at usage (measured in kWh for electricity or therms/CCF for natural gas) rather than just the dollar amount, as rates can fluctuate. Compare usage during similar weather conditions year-over-year.

Beyond the numbers, you’ll feel the difference. Your home will be more comfortable, with fewer drafts and more consistent temperatures. Your HVAC system won’t have to cycle as frequently, potentially extending its lifespan. You’ll also likely notice a reduction in dust and outdoor noise.
Common Mistakes to Avoid When Sealing Air Leaks
While sealing air leaks is a relatively simple DIY task, there are a few pitfalls to be aware of:
- Using the Wrong Sealant: Not all caulk or foam is created equal. Using interior caulk outdoors, or high-expansion foam in small gaps around windows, can lead to poor results or even damage. Always read product labels carefully.
- Inadequate Surface Preparation: Caulk and weatherstripping won’t adhere well to dirty, dusty, or greasy surfaces. Clean all areas thoroughly before application.
- Ignoring the Attic and Basement: Focusing only on windows and doors misses the biggest culprits. The attic and basement/crawl space often account for the most significant air leakage.
- Forgetting Safety Precautions: Especially when working in attics or with spray foam, wear gloves, safety glasses, and a respirator if recommended by the product. Be mindful of electrical hazards.
- Over-sealing: While rare for DIY projects, it’s possible to make a home too tight without adequate mechanical ventilation, potentially leading to indoor air quality issues. However, for most older, leaky homes, this is not a concern.
Beyond Air Sealing: Other Energy-Saving Measures
Once you’ve successfully managed to seal air leaks, consider these additional steps to further enhance your home’s energy efficiency:
- Add Insulation: Especially in your attic, adequate insulation works hand-in-hand with air sealing to create a thermal barrier.
- Upgrade Windows and Doors: While air sealing existing ones is great, truly old, inefficient windows and doors might eventually need replacement.
- Smart Thermostats: Program your thermostat to adjust temperatures when you’re away or asleep.
- Energy-Efficient Appliances: When it’s time to replace old appliances, choose ENERGY STAR® certified models.
- HVAC Maintenance: Regular maintenance of your heating and cooling system ensures it runs efficiently.
Conclusion: A More Comfortable, Cost-Effective Home Awaits
Taking the time to seal air leaks is one of the most impactful and cost-effective home improvement projects you can undertake. It’s a tangible step towards reducing your environmental footprint, enhancing your family’s comfort, and significantly lowering your utility bills. With a bit of planning, the right tools, and a weekend’s worth of dedication, you can achieve that impressive 8% (or more!) reduction in energy loss.
Don’t let those invisible drafts continue to drain your wallet and compromise your comfort. Roll up your sleeves this weekend, follow these practical solutions, and experience the immediate benefits of a well-sealed home. Your future self (and your bank account) will thank you.