Maximizing Energy Efficiency: A 2026 Checklist for Identifying and Sealing 6 Common Home Air Leaks
Maximizing Energy Efficiency: A 2026 Checklist for Identifying and Sealing 6 Common Home Air Leaks
As we navigate further into 2026, the imperative to optimize home energy efficiency has never been more critical. Not only does it translate into significant savings on your utility bills, but it also contributes to a more comfortable living environment and a reduced carbon footprint. One of the most effective, yet often overlooked, strategies for achieving this is to identify and seal home air leaks. These invisible culprits can account for a substantial portion of your home’s energy loss, making your HVAC system work harder than necessary and leading to inconsistent indoor temperatures. This comprehensive guide will provide you with a 2026 checklist to pinpoint and effectively seal home air leaks, transforming your residence into a bastion of energy efficiency.
Understanding where air leaks occur is the first step in combating them. Air infiltration and exfiltration happen through various cracks, gaps, and openings in your home’s envelope. These can range from obvious gaps around windows and doors to more subtle, hidden pathways in your attic or basement. By systematically addressing these vulnerabilities, you can dramatically improve your home’s thermal performance. Our focus today is on six of the most common areas where air leaks are prevalent, offering practical, actionable advice for each.
The benefits of taking the time to seal home air leaks extend far beyond mere cost savings. You’ll experience fewer drafts, a more consistent indoor temperature, reduced entry points for pests, and even improved indoor air quality. This isn’t just a one-time project; it’s an ongoing commitment to maintaining your home’s energy integrity. With the right tools and a little dedication, you can make a profound difference in your home’s energy profile for years to come.
The Critical Importance of Sealing Home Air Leaks in 2026
In an era where energy costs continue to fluctuate and environmental concerns are paramount, sealing home air leaks has emerged as a cornerstone of responsible homeownership. A leaky home is akin to leaving a window open year-round, constantly allowing conditioned air to escape and unconditioned air to enter. This forces your heating and cooling systems to operate more frequently and intensely, leading to higher energy consumption and increased wear and tear on your equipment. The average home can lose up to 30% of its heating and cooling energy through air leaks, a staggering figure that directly impacts your wallet.
Beyond the financial implications, the comfort of your home is significantly compromised by air leaks. Drafts near windows, doors, and electrical outlets create uncomfortable cold spots in winter and warm spots in summer, making it challenging to maintain a uniform temperature throughout your living spaces. This often leads to over-adjusting thermostats, further exacerbating energy waste. By proactively working to seal home air leaks, you create a more stable and pleasant indoor environment, reducing the need for constant temperature adjustments.
Furthermore, air sealing plays a crucial role in maintaining healthy indoor air quality. Gaps and cracks not only allow air to pass through but can also serve as entry points for dust, pollen, moisture, and even pests. By sealing these openings, you create a tighter building envelope that helps to keep unwanted elements out, contributing to a cleaner and healthier home. This is particularly important for individuals with allergies or respiratory sensitivities. Investing time and effort to seal home air leaks is not just about saving money; it’s about investing in the long-term health, comfort, and sustainability of your home.
Your 2026 Checklist: Identifying and Sealing Common Home Air Leaks
Now, let’s dive into the practical steps. This checklist will guide you through the process of identifying and effectively sealing six common areas where air leaks frequently occur in homes. Before you begin, gather some essential tools: a caulk gun, high-quality caulk (silicone for exterior, acrylic latex for interior), expanding foam sealant (low-expansion for smaller gaps, high-expansion for larger ones), weatherstripping, a utility knife, and a flashlight. A smoke pencil or incense stick can also be incredibly useful for detecting subtle drafts.
1. Windows and Doors: The Obvious Culprits
Windows and doors are often the first places people think of when it comes to air leaks, and for good reason. They are frequently used and can develop gaps over time due to settling, temperature fluctuations, and wear and tear. Successfully addressing these areas will significantly help to seal home air leaks.
- Identification: Close all windows and doors. On a windy day, hold a smoke pencil or incense stick around the frames. If the smoke wavers or is drawn inward, you have an air leak. You can also simply feel for drafts with your hand. Check around the perimeter of the frame where it meets the wall, and also where the operable parts of the window/door meet the frame when closed.
- Sealing Strategy:
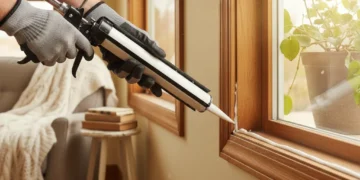
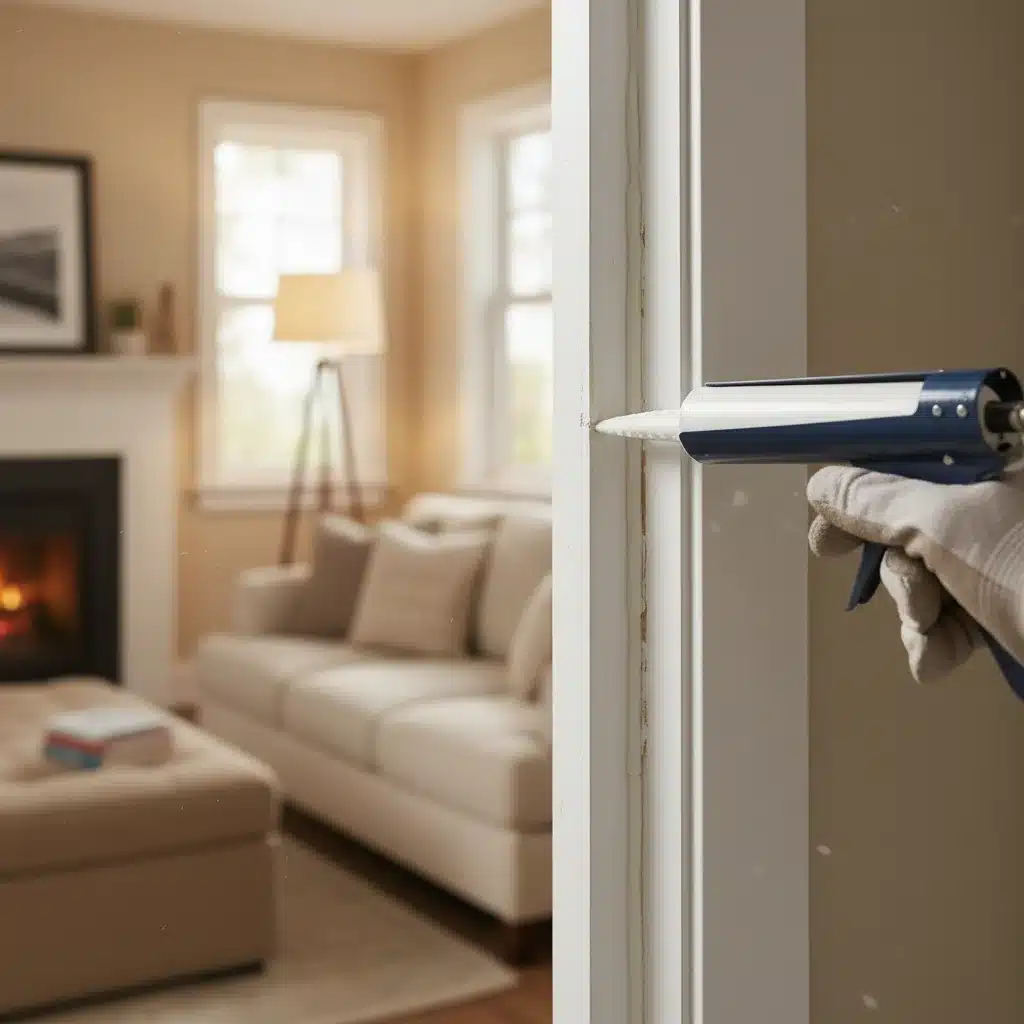
- Caulking: For stationary gaps around window and door frames where they meet the exterior wall, use exterior-grade silicone caulk. Ensure the surface is clean and dry before applying. For interior gaps between the frame and drywall, use paintable acrylic latex caulk.
- Weatherstripping: For gaps between the moving parts of windows and doors (sashes, sills, door slabs, and door frames), apply or replace weatherstripping. There are various types, including foam, rubber, and V-strip. Choose the appropriate type for your window or door style. For doors, pay particular attention to the bottom edge; a door sweep can be highly effective.
- Door Sweeps: Install or replace door sweeps on exterior doors to seal the gap between the bottom of the door and the threshold.
2. Electrical Outlets and Light Switches on Exterior Walls
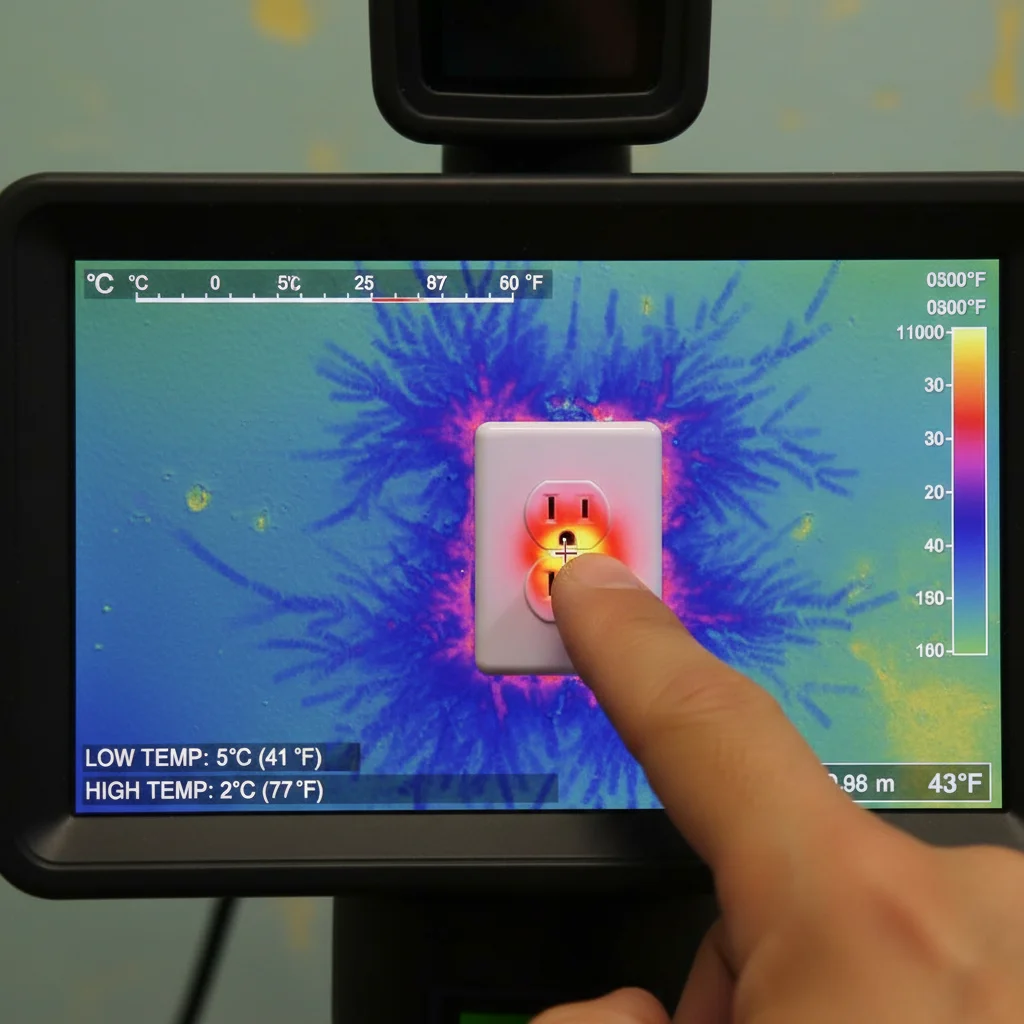
These seemingly small openings can be significant contributors to air leakage, especially on exterior walls. Each outlet and switch plate is a direct pathway to the wall cavity, which is often unconditioned space. This is a common, yet often overlooked, area when you want to seal home air leaks effectively.
- Identification: Hold a smoke pencil near electrical outlets and light switches on exterior walls. You might be surprised by the amount of air movement. You can also feel for cold or warm air seeping through the plate covers.
- Sealing Strategy:
- Foam Gaskets: The simplest and most effective solution is to install foam gaskets behind outlet and switch plates. These are inexpensive, easy to install (simply remove the plate, place the gasket, and reattach the plate), and provide an excellent seal.
- Caulking (Carefully): For very small gaps between the electrical box and the drywall, you can carefully apply a thin bead of caulk. However, avoid getting caulk into the electrical components themselves. Always turn off the power at the breaker before working on electrical outlets or switches.
3. Plumbing Penetrations Under Sinks and Behind Toilets
Anywhere a pipe passes through a wall, floor, or ceiling, there’s a potential for an air leak. These penetrations are often not sealed adequately during construction, creating direct pathways for air movement. Addressing these helps to seal home air leaks that are often hidden.
- Identification: Look under sinks and behind toilets where water supply lines and drain pipes enter the wall or floor. You’ll often see unsealed gaps around the pipes. In basements or crawl spaces, check where pipes pass through the foundation or floor joists.
- Sealing Strategy:
- Caulk: For smaller gaps (less than 1/4 inch), use a high-quality caulk to seal around the pipes where they penetrate the wall or floor.
- Expanding Foam: For larger gaps, use a low-expansion spray foam sealant. Be careful not to use high-expansion foam in confined spaces, as it can exert pressure and potentially damage pipes or surrounding structures.
- Escutcheon Plates: While primarily decorative, ensuring escutcheon plates are tightly fitted can help reduce minor drafts, though they are not a primary air seal.
4. Attic Hatches and Pull-Down Stairs
The attic is a major source of air leakage, especially through unsealed access points like attic hatches and pull-down stairs. These openings often act as chimneys, allowing warm air to escape in winter and cool air to escape in summer, significantly impacting your efforts to seal home air leaks.
- Identification: Feel for drafts around the edges of your attic hatch or pull-down stairs. If you have access to your attic, look for light coming through the gaps from below.
- Sealing Strategy:
- Weatherstripping: Apply adhesive-backed foam weatherstripping around the perimeter of the attic hatch or the frame of the pull-down stairs. When the hatch or stairs are closed, the weatherstripping should compress to form a tight seal.
- Latches/Clips: Ensure that the hatch or stairs have proper latches or clips that pull them tightly against the frame, compressing the weatherstripping.
- Insulation Cover: For attic hatches, consider building or purchasing an insulated cover that sits on top of the hatch, adding another layer of air sealing and insulation. For pull-down stairs, specialized insulated stair covers are available.
5. Recessed Lighting Fixtures and Ceiling Fans
Many recessed light fixtures (can lights) are not airtight, especially older models. They create direct pathways for air movement between your living space and the unconditioned attic above. The same applies to ceiling fans where the electrical box meets the ceiling. This is a critical area to seal home air leaks for overall energy savings.
- Identification: If you have access to your attic, look for light coming through the ceiling around recessed fixtures. In your living space, feel for drafts around the trim of the light fixture or ceiling fan.
- Sealing Strategy:
- Airtight Recessed Lights: If you’re replacing old recessed lights, opt for ‘IC-rated’ (insulation contact) and ‘airtight’ models. These are designed to minimize air leakage.
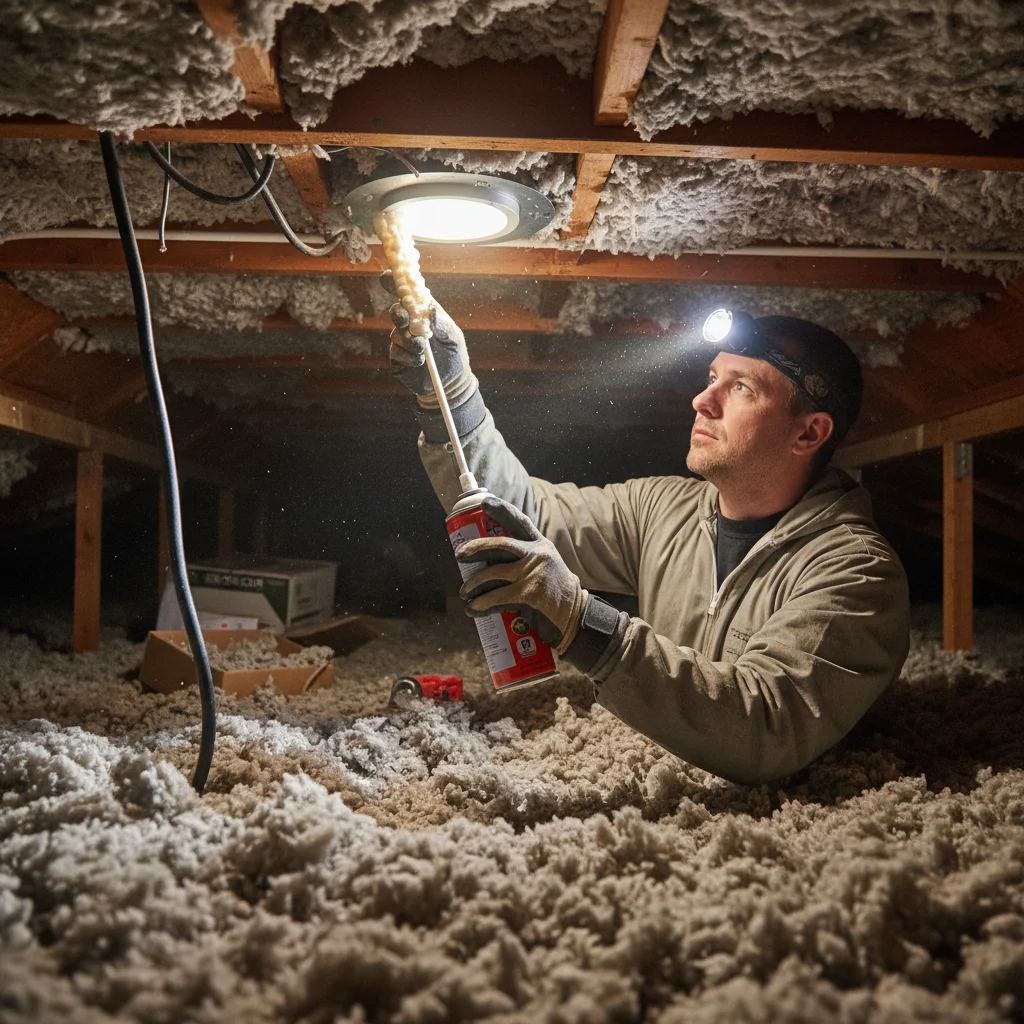
- Expanding Foam (Attic Side): From the attic side, carefully apply a bead of low-expansion spray foam around the housing of non-IC rated recessed lights where they meet the drywall. Ensure the foam does not come into contact with the light fixture itself, as heat can be an issue. For IC-rated lights, you can foam directly around the housing.
- Caulk (Room Side): From the room side, apply a thin bead of caulk around the trim of the recessed light where it meets the ceiling, if there’s a visible gap.
- Ceiling Fans: For ceiling fan mounts, caulk around the electrical box where it meets the drywall in the ceiling.
6. Baseboards and Wall-to-Floor Junctions
The often-overlooked gaps where your baseboards meet the wall or floor can be significant sources of air leakage, particularly in older homes or homes with uneven flooring. These gaps allow air to bypass your insulation and enter your living space. When you seal home air leaks, don’t forget these subtle areas.
- Identification: Carefully inspect the perimeter of your rooms where the baseboards meet the floor and the wall. In older homes, you might even be able to see small cracks or gaps. A smoke pencil can also reveal drafts in these areas.
- Sealing Strategy:
- Caulking: Apply a thin, continuous bead of paintable acrylic latex caulk along the top edge of the baseboard where it meets the wall, and along the bottom edge where it meets the floor. Smooth the caulk with a wet finger or caulking tool for a clean finish.
- Quarter-Round Molding: If the gap between the baseboard and the floor is substantial, installing quarter-round molding can help conceal the caulk and provide a more finished look, while also aiding in the seal.
Advanced Techniques and Professional Assistance for Sealing Home Air Leaks
While the checklist above covers the most common and accessible areas for air sealing, some leaks are more challenging to identify or require specialized tools and expertise. For those committed to achieving the highest level of energy efficiency, consider these advanced techniques and when to call in the professionals to help seal home air leaks.
Blower Door Test
A blower door test is an invaluable diagnostic tool used by energy auditors to determine the overall airtightness of your home and pinpoint exact locations of air leaks. A powerful fan is mounted in a doorway, depressurizing the house. This exaggerates air leaks, making them easier to detect with smoke pencils, thermal cameras, or even by hand. A professional energy auditor can conduct this test and provide a detailed report, guiding your air sealing efforts with precision.
Thermal Imaging
Thermal cameras (infrared cameras) can visualize temperature differences, making cold spots from air infiltration or exfiltration immediately apparent. These devices are becoming more affordable for homeowners, but professional energy auditors often have higher-grade equipment and the experience to interpret the images accurately. Using a thermal camera, especially in conjunction with a blower door, can reveal hidden air leaks in walls, ceilings, and floors that would otherwise go unnoticed.
Sealing Ductwork
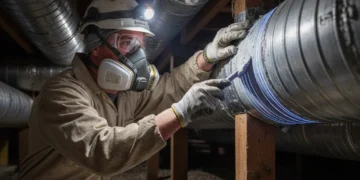
While not strictly part of the building envelope, leaky ductwork is a significant source of energy loss in many homes. Ducts that run through unconditioned spaces (attics, crawl spaces, basements) can lose a substantial amount of conditioned air before it ever reaches your living spaces. Use mastic sealant or specialized metallic foil tape (not duct tape, which degrades over time) to seal all seams and connections in your ductwork. This is a crucial step to complement your efforts to seal home air leaks throughout the envelope.
Crawl Space and Basement Rim Joists
The rim joist area – where the foundation meets the wood framing of your house – is a notorious source of air leakage. It’s often difficult to access and can have numerous gaps and penetrations. Sealing this area effectively usually involves a combination of expanding foam and rigid insulation boards. This can be a challenging DIY project, and professional insulation contractors often have the best solutions for this area.
Professional Energy Audit
For a holistic approach to improving your home’s energy efficiency and to effectively seal home air leaks, consider hiring a certified energy auditor. They can perform comprehensive assessments, including blower door tests and thermal imaging, and provide a prioritized list of recommendations tailored to your home. They can also advise on proper ventilation strategies, which are crucial once a home becomes significantly tighter.
Maintaining Your Air-Sealed Home
Sealing home air leaks is not a one-and-done task. Over time, materials can degrade, caulk can crack, and weatherstripping can wear out. Regularly inspecting your home for new or recurring air leaks is essential to maintain optimal energy efficiency. Make it a habit to check key areas annually, perhaps in conjunction with seasonal maintenance tasks for your HVAC system or before the onset of extreme weather.
Keep a small supply of caulk, expanding foam, and weatherstripping on hand for quick touch-ups. Pay attention to any new drafts you feel, or unusual cold/warm spots in your home. By being proactive and vigilant, you can ensure that your efforts to seal home air leaks continue to pay dividends in comfort and savings for years to come. Remember, a well-sealed home is a comfortable, energy-efficient, and sustainable home.
The Long-Term Benefits of a Tightly Sealed Home
The journey to seal home air leaks is an investment that yields substantial returns. Beyond the immediate financial savings on utility bills, a tightly sealed home offers a cascade of long-term benefits that enhance your quality of life and the value of your property. Consider the cumulative impact of these improvements:
- Enhanced Comfort: Imagine a home free from drafts, where every room maintains a consistent, comfortable temperature regardless of the weather outside. This uniform comfort eliminates cold spots in winter and hot spots in summer, making your living spaces truly enjoyable year-round.
- Improved Indoor Air Quality: By reducing uncontrolled air infiltration, you minimize the entry of outdoor pollutants like dust, pollen, and allergens. This leads to a cleaner indoor environment, which is particularly beneficial for individuals with respiratory issues or allergies. When combined with proper ventilation, a sealed home can better manage internal humidity and reduce the potential for mold growth.
- Reduced Wear and Tear on HVAC Systems: When your heating and cooling systems don’t have to work overtime to compensate for air leaks, they operate more efficiently and experience less stress. This translates into extended equipment lifespan, fewer repair calls, and ultimately, significant savings on maintenance and replacement costs.
- Pest Control: Gaps and cracks are not just pathways for air; they are also entry points for insects and rodents. By sealing these vulnerabilities, you create a more secure barrier against unwanted pests, contributing to a healthier and more hygienic home environment.
- Environmental Impact: A reduction in energy consumption directly correlates with a decrease in your home’s carbon footprint. By using less energy for heating and cooling, you contribute to the global effort to combat climate change and promote sustainable living.
- Increased Home Value: Energy-efficient homes are increasingly attractive to prospective buyers. Improvements like effective air sealing are often highlighted in home energy audits and can be a significant selling point, potentially increasing your property’s market value.
Embracing the practice of identifying and sealing home air leaks is a testament to smart homeownership. It’s a proactive step towards creating a more resilient, comfortable, and cost-effective living space. As energy standards evolve and awareness of environmental responsibility grows, the importance of a well-sealed home will only continue to rise. Make 2026 the year you commit to truly optimizing your home’s energy performance, starting with this fundamental and impactful endeavor.
By following this detailed checklist and committing to regular maintenance, you’ll not only save money but also create a healthier, more comfortable, and sustainable living environment for you and your family. Start your air sealing journey today and experience the profound difference it makes!