The 3-Month Payback: Sealing Air Leaks for Immediate Home Energy Reduction in 2026
The 3-Month Payback: Sealing Air Leaks for Immediate Home Energy Reduction in 2026
In an era where energy costs continue to climb and environmental consciousness is at an all-time high, optimizing your home’s energy efficiency isn’t just a smart move; it’s a necessity. One of the most impactful, yet often overlooked, strategies is to seal home air leaks. This isn’t just about minor adjustments; it’s about transforming your home’s energy performance with an investment that can pay for itself in as little as three months. Yes, you read that right – a 3-month payback! By taking proactive steps to seal home air leaks, you’re not only reducing your carbon footprint but also putting significant money back into your pocket. This comprehensive guide will walk you through the why, what, and how of sealing air leaks, ensuring your home is more comfortable, more sustainable, and significantly cheaper to run by 2026.
Understanding the Hidden Drain: Why Air Leaks Matter
Many homeowners underestimate the cumulative effect of small gaps and cracks in their homes. These seemingly insignificant openings are gateways for conditioned air to escape and unconditioned air to infiltrate, forcing your HVAC system to work overtime. This constant battle against unwanted air exchange is a primary culprit behind high energy bills and inconsistent indoor temperatures. When you seal home air leaks, you’re essentially putting a stop to this energy hemorrhage.
Think of your home as a balloon. If there are tiny pinpricks, the air slowly but surely escapes, and you have to keep blowing more air in to keep it inflated. Your heating and cooling systems are constantly trying to ‘inflate’ your home with comfortable air, but if there are leaks, that air is escaping, and your system has to work harder and longer to maintain the desired temperature. This translates directly to higher energy consumption and, consequently, higher utility bills.
Beyond the financial implications, air leaks also compromise indoor air quality. They allow dust, pollen, insects, and moisture to enter your home, potentially leading to allergies, respiratory issues, and even mold growth. By effectively addressing these leaks, you improve not only your home’s energy performance but also its overall health and comfort. This holistic approach makes sealing air leaks one of the most beneficial home improvement projects you can undertake.
The 3-Month Payback: A Realistic Expectation
The idea of a 3-month payback might sound too good to be true, but for many homeowners, it’s an achievable reality. The cost of materials to seal home air leaks – primarily caulk, weatherstripping, and spray foam – is relatively low, often ranging from a few hundred dollars for a typical home. The energy savings, however, can be substantial. Studies by the U.S. Department of Energy indicate that sealing air leaks can reduce heating and cooling costs by 10% to 20%, sometimes even more.
Let’s consider an example: If your average monthly energy bill for heating and cooling is $200, a 15% reduction means saving $30 per month. If your total investment in materials and tools was $90, you would recoup that cost in just three months ($90 / $30 = 3 months). After that initial payback period, every dollar saved is pure profit, year after year. This makes sealing air leaks one of the highest return-on-investment (ROI) home improvement projects available, especially when compared to larger, more expensive upgrades.
The beauty of this rapid payback is that it doesn’t require complex installations or specialized contractors for many common tasks. Many air sealing projects are well within the capabilities of a DIY enthusiast, further reducing costs and accelerating your return. The immediate impact on your energy bills is often noticeable in the very next billing cycle, providing tangible proof of your efforts.
Identifying the Culprits: Where to Find Air Leaks
Before you can effectively seal home air leaks, you need to know where they are. Air leaks are not always obvious; they often hide in plain sight or in less-trafficked areas of your home. A systematic approach to detection is key. Here are the most common culprits:
Windows and Doors
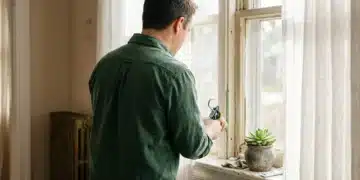
These are the most common and often largest sources of air infiltration. Look for gaps around the frames, under doors, and between the sash and the frame. Old, worn-out weatherstripping and caulk are frequent offenders.
Electrical Outlets and Switch Plates
Believe it or not, the small gaps around electrical boxes on exterior walls can be significant sources of leaks. Cold air often seeps through these seemingly minor openings.
Plumbing and Wiring Penetrations
Wherever pipes or wires pass through walls, floors, or ceilings, there’s a potential for air leakage. This is particularly true in areas like under sinks, around water heaters, and where utility lines enter the house.
Attic Hatches and Pull-Down Stairs
The unsealed edges of attic access points can allow a tremendous amount of conditioned air to escape into the attic, or unconditioned air to enter your living space. This is a crucial area to address.
Fireplace Dampers and Chimneys
When not in use, an open or poorly sealed fireplace damper is like having a large, open window to the outside, allowing a significant amount of heat to escape.
Basement and Crawl Space Rim Joists
The area where the foundation meets the house framing (the rim joist) is a notorious leak point. Gaps here can allow cold air from the basement or crawl space to enter the living areas above.
Recessed Lighting and Ceiling Fans
If these fixtures are not airtight, they can create pathways for air to move between your living space and the attic, especially in older homes.
Exterior Wall Penetrations (HVAC, Dryer Vents)
Any opening in an exterior wall for vents, ducts, or pipes needs to be properly sealed to prevent air leakage.
DIY Detection Methods: Becoming Your Own Energy Detective
You don’t need expensive equipment to start identifying air leaks. Here are a few simple methods:
- The Visual Inspection: Simply look for cracks, gaps, and deterioration around windows, doors, and utility penetrations.
- The Smoke Test: On a windy day, light an incense stick or hold a piece of tissue paper near suspected leak areas. If the smoke wavers or the tissue moves, you’ve found a leak.
- The Hand Test: On a cold or windy day, simply run your hand along window frames, door frames, and electrical outlets to feel for drafts.
- The Flashlight Test: At night, have a helper shine a bright flashlight from the outside while you look for light seeping through cracks from the inside.
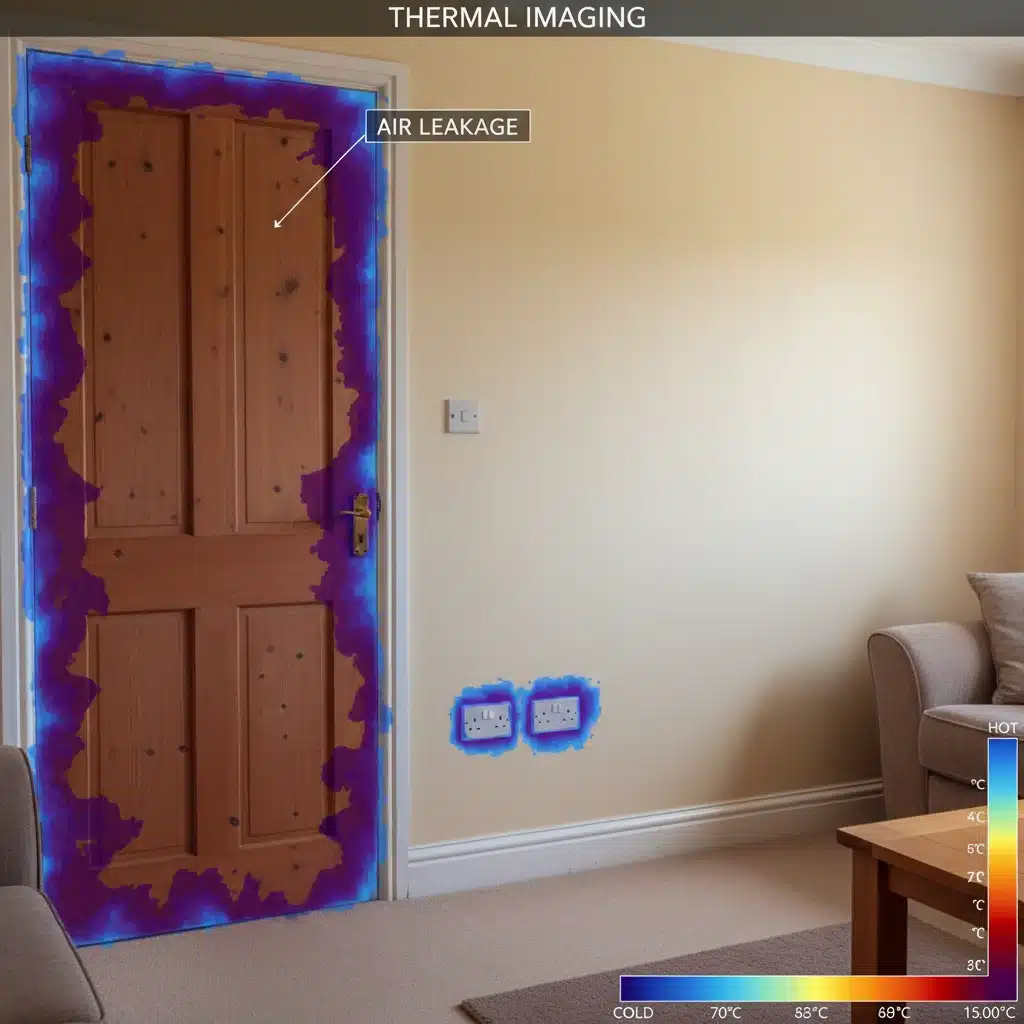
For those who want a more advanced approach, consider renting or purchasing an infrared thermal camera. These devices can visually show you temperature differences, making hidden cold spots (and thus air leaks) immediately apparent. While an investment, a thermal camera can quickly pay for itself by helping you pinpoint leaks you might otherwise miss, allowing you to more effectively seal home air leaks.
Tools and Materials to Seal Home Air Leaks
Once you’ve identified your leak points, it’s time to gather your arsenal. The good news is that most of the tools and materials are readily available and affordable:
Caulk
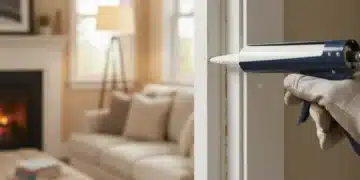
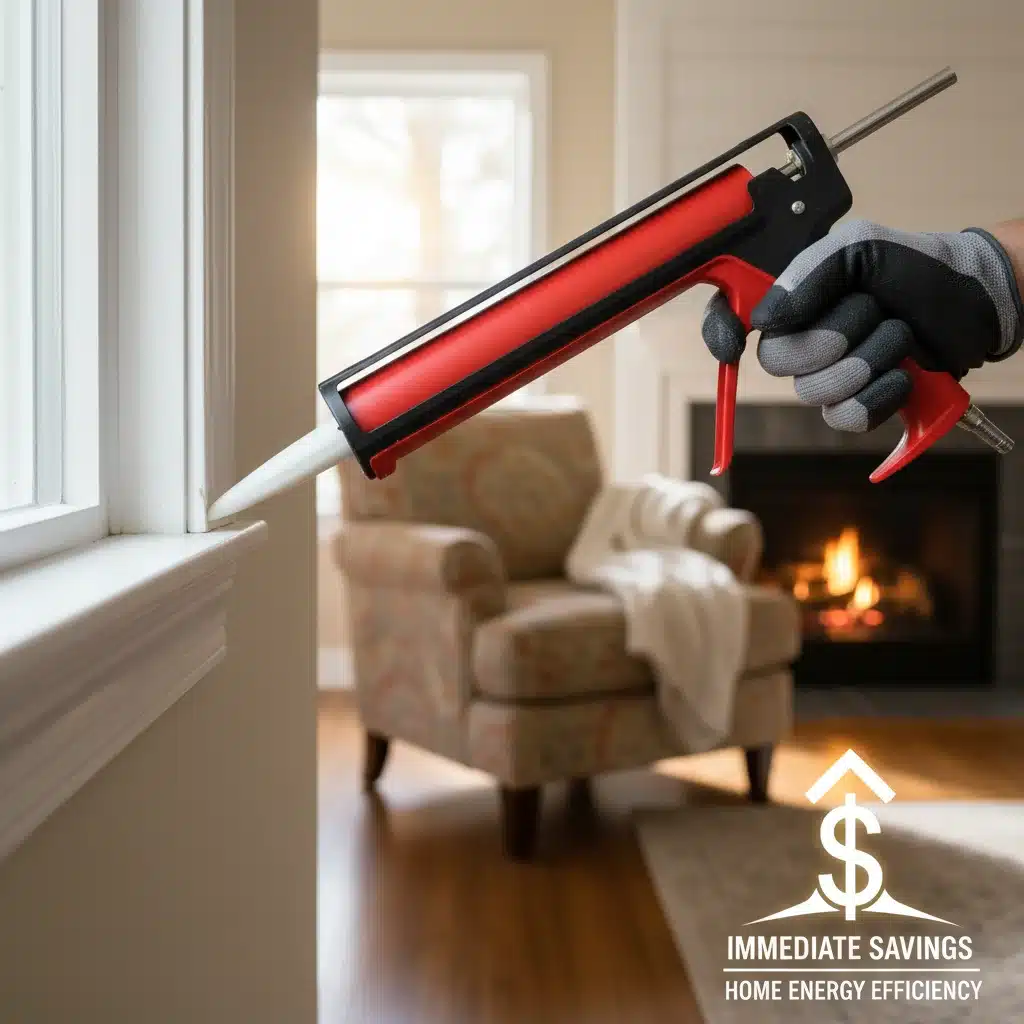
Use for: Gaps around window and door frames, plumbing penetrations, and small cracks in walls. Choose acrylic latex caulk for interior use (easy cleanup) and silicone or polyurethane caulk for exterior applications (more durable and weather-resistant).
Application Tip: Ensure surfaces are clean and dry. Cut the caulk tube nozzle at a 45-degree angle to create a bead that matches the gap size. Apply a steady, even bead and smooth it with a wet finger or a caulking tool.
Weatherstripping
Use for: Movable components like windows and doors. It creates a seal when the window or door is closed. Common types include adhesive-backed foam strips, V-strip (tension seal), and tubular rubber or vinyl.
Application Tip: Clean the surface thoroughly before applying adhesive-backed weatherstripping. For doors, consider a door sweep for the bottom and new thresholds if needed.
Spray Foam Sealant (Expanding Foam)
Use for: Larger gaps and holes, such as those around pipes, wires, and ductwork penetrations, or in rim joists in basements/crawl spaces. Choose ‘low-expansion’ foam for windows and doors to avoid warping frames.
Application Tip: Wear gloves and eye protection. Foam expands significantly, so apply sparingly. Trim excess once fully cured. Ensure adequate ventilation.
Gaskets and Insulating Covers
Use for: Electrical outlets and switch plates on exterior walls. These are inexpensive foam gaskets that fit behind the cover plate, providing an effective air barrier.
Application Tip: Turn off power to the outlet/switch at the breaker before installing. Simply remove the cover plate, place the gasket, and screw the cover plate back on.
Duct Mastic or Foil Tape
Use for: Sealing seams and connections in ductwork. Leaky ducts can waste a significant amount of conditioned air.
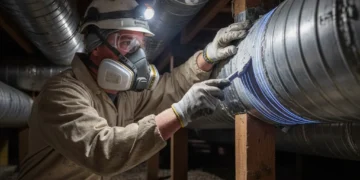
Application Tip: Mastic creates a superior, long-lasting seal. Apply with a brush, ensuring full coverage over seams. Foil tape is an alternative but ensure it’s specifically for ducts (not standard duct tape).
Step-by-Step Guide to Sealing Common Air Leaks
1. Sealing Windows and Doors
- Caulk: Apply a continuous bead of caulk around the exterior and interior frames where they meet the wall.
- Weatherstripping: Install new weatherstripping around the perimeter of the window sash and door frame. For doors, add a door sweep to the bottom.
- Low-Expansion Foam: If there are significant gaps between the window/door frame and the rough opening (often hidden by trim), carefully use low-expansion spray foam.
2. Addressing Electrical Outlets and Switch Plates
- Install foam gaskets behind all exterior-facing electrical outlet and switch plates.
- For significant gaps around the electrical box itself, a small amount of caulk can be applied carefully around the box before the plate is reattached (ensure power is off).
3. Tackling Plumbing and Wiring Penetrations
- Use caulk for smaller gaps around pipes and wires.
- For larger holes, especially where pipes or vents pass through exterior walls or floors into unconditioned spaces (like under sinks or in the attic), use expanding spray foam.
4. Sealing Attic Access Points
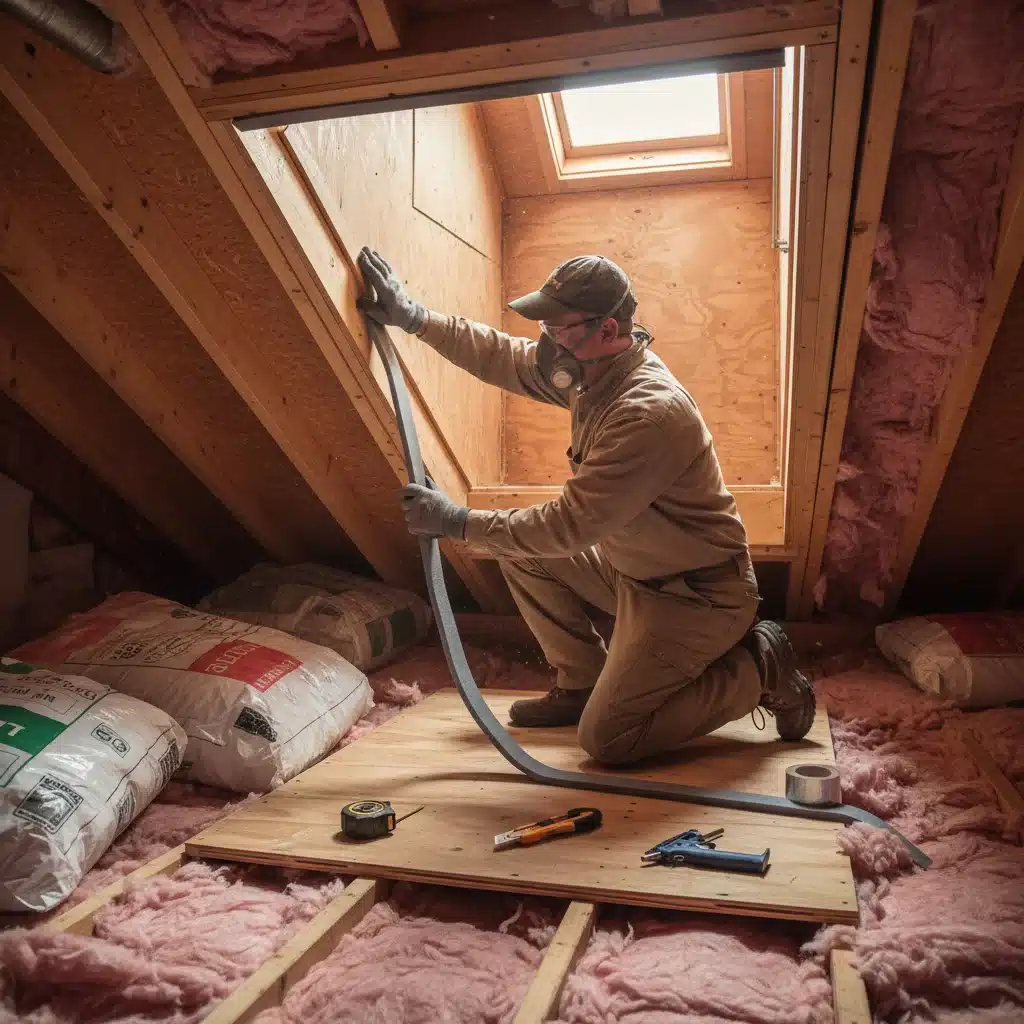
- Attic Hatch: Apply adhesive-backed foam weatherstripping around the perimeter of the hatch opening and install latches to ensure a tight seal when closed.
- Pull-Down Stairs: This is a major leak point. Install weatherstripping around the frame of the stair opening. Consider building an insulated cover or box to place over the stairs in the attic.
5. Improving Fireplace Efficiency
- Ensure your fireplace damper closes tightly. If it doesn’t, consider replacing it or installing a top-sealing damper at the top of the chimney.
- When not using the fireplace, use an inflatable chimney balloon or a rigid fireplace plug to block the flue.
6. Sealing Basement/Crawl Space Rim Joists
- This area often requires more substantial work. Use expanding spray foam to fill all gaps and cracks in the rim joist area.
- Consider adding rigid foam insulation panels to the interior of the rim joist area for added thermal protection, sealing the edges with caulk or foam.
7. Addressing Recessed Lighting and Ceiling Fans
- If you have older, non-airtight recessed lights, consider replacing them with IC-rated (insulation contact) airtight models.
- For existing fixtures, you can sometimes use caulk or foam around the housing where it meets the drywall, but be careful not to obstruct ventilation. Always consult a professional if unsure.
Beyond the Basics: Advanced Air Sealing Techniques
While DIY projects can significantly seal home air leaks, some areas might require professional assistance or more advanced techniques:
- Blower Door Test: A professional energy auditor uses a blower door to depressurize your house, making it easier to locate leaks with smoke pencils or thermal cameras. This provides a comprehensive assessment of your home’s airtightness.
- Duct Sealing: While you can seal accessible ducts, professional duct sealing services can address leaks within walls or ceilings, often using aerosol-based sealing technologies that effectively seal hard-to-reach areas.
- Whole-House Air Sealing: For older homes with extensive leakage, a comprehensive whole-house air sealing project by a qualified contractor might be the most effective solution. This often involves sealing the entire building envelope, from the foundation to the attic.
Maintaining Your Air-Sealed Home: Long-Term Benefits
Sealing air leaks isn’t a one-time fix; it’s an ongoing commitment to maintaining your home’s energy efficiency. Over time, caulk can crack, weatherstripping can wear out, and new gaps might appear due to settling. Make it a habit to:
- Perform Annual Inspections: Walk around your home once a year, both inside and out, to check for new or deteriorating seals.
- Reapply Sealants as Needed: Replace worn weatherstripping and re-caulk any cracked or peeling areas.
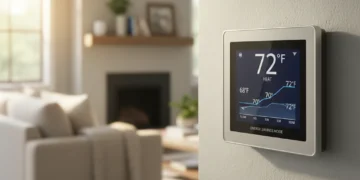
- Monitor Energy Bills: Keep an eye on your energy consumption. A sudden spike might indicate new leaks or issues with your HVAC system.
The long-term benefits of a well-sealed home extend far beyond the initial 3-month payback. You’ll enjoy:
- Consistent Comfort: No more cold drafts in winter or hot spots in summer. Your home will maintain a more even and comfortable temperature.
- Reduced Energy Bills: The savings continue year after year, adding up to substantial amounts over the lifespan of your home.
- Improved Indoor Air Quality: Less dust, pollen, and pollutants entering your home means a healthier living environment.
- Extended HVAC Lifespan: A more efficient home means your heating and cooling systems don’t have to work as hard, potentially extending their operational life and reducing maintenance costs.
- Increased Home Value: An energy-efficient home is a more attractive prospect for potential buyers, adding to its market value.
Conclusion: Embrace the Power of Air Sealing
In conclusion, the decision to seal home air leaks is one of the most intelligent and cost-effective home improvement choices you can make in 2026. With a potential 3-month payback, this project offers an almost immediate return on investment, followed by years of continuous savings and enhanced home comfort. From the simplest caulk and weatherstripping applications to more advanced professional sealing, every effort you make contributes to a more energy-efficient, sustainable, and comfortable living space. Don’t let your hard-earned money literally fly out the window; take action today to identify and seal those hidden air leaks, and start enjoying the immediate and long-term benefits of a truly airtight home.