Uncovering Hidden Waste: A Modern Guide to DIY Home Energy Audits
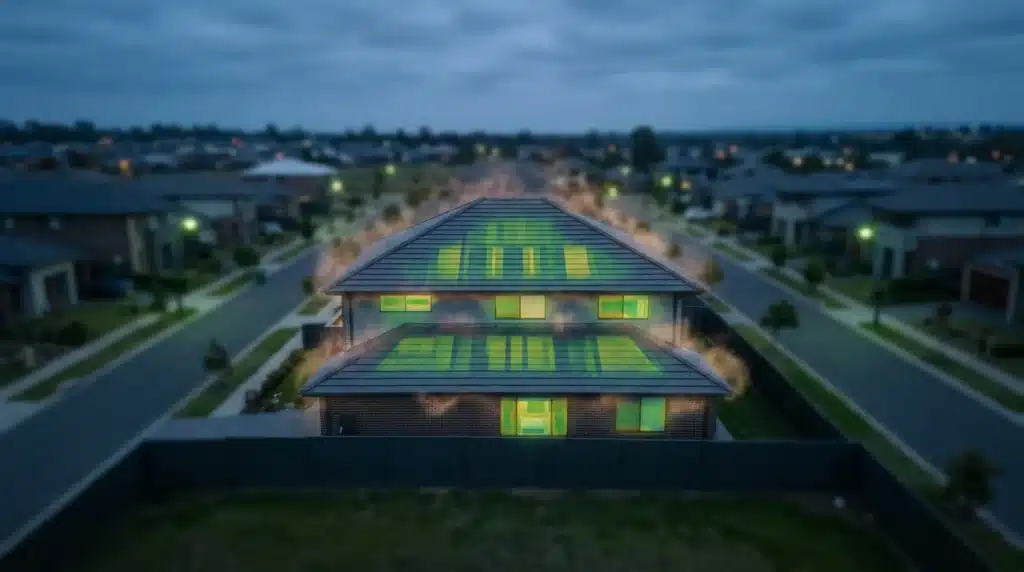
That moment when the monthly utility bill arrives can feel like bracing for impact. Energy costs seem to be on a one-way trip upward, leaving many homeowners wondering where all that money is actually going. According to the U.S. Energy Information Administration, the average household spends over two thousand dollars on energy annually, but a significant portion of that often vanishes into thin air—literally—through unseen cracks, inefficient appliances, and forgotten settings.
This is where a DIY home energy audit transforms you from a passive bill-payer into an active energy detective. Instead of hiring a professional for a costly inspection, this guide empowers you to uncover the hidden sources of energy waste lurking in your own home. It’s a practical approach that puts control back in your hands, offering a clear path to lower bills and greater energy independence. The benefits extend beyond your wallet, as a more efficient home directly translates to a smaller environmental footprint.
By following this broad guide, you’ll learn which tools, from simple incense sticks to advanced thermal cameras, can reveal your home’s secrets. We will walk you through a systematic, three-phase inspection covering your home’s exterior envelope, interior systems, and major appliances. Finally, you’ll discover how to translate your findings into a prioritized action plan, ensuring you tackle the fixes that deliver the biggest savings first. Get ready to turn data into decisions and start plugging the leaks in your budget.
Why a DIY Energy Audit is More notable Than Ever
Let’s be honest, opening your monthly utility bill has become a source of anxiety for many. Energy costs are climbing, and that trend doesn’t appear to be reversing anytime soon. According to the U.S. Energy Information Administration (EIA), the average household can spend over $2,150 annually on energy alone. But where is all that money actually going? A surprising amount is lost to simple inefficiencies that are completely fixable.
This is precisely where a DIY home energy audit comes into play. Think of it as a financial health checkup for your house. Instead of paying a professional hundreds of dollars, you can identify the primary sources of energy waste yourself—from phantom loads drawn by electronics to that drafty attic you keep meaning to insulate. Taking control of your energy consumption is a powerful first step toward achieving greater energy independence.
The motivation extends beyond just saving money. A growing awareness of our environmental footprint has many homeowners looking for practical ways to reduce their impact. A home that uses less energy is a home with a smaller carbon footprint. What most people miss is the direct connection between minor home improvements and significant energy conservation, a core principle behind a sustainable lifestyle.
Conducting your own audit empowers you with data-driven insights. You’ll discover exactly where your home is “leaking” energy, allowing you to make targeted, cost-effective improvements rather than guessing. The good news is that you don’t need to be an engineer to find these hidden drains on your wallet; you just need a clear plan and a little bit of time.
Primary Tools and Smart Tech for Your Modern DIY Audit
Conducting a thorough home energy audit requires more than just a keen eye. Having the right equipment transforms your inspection from a simple walkthrough into a data-driven investigation. You don’t need a truck full of professional gear, but a few key items can make all the difference between guessing and knowing exactly where your energy dollars are escaping. Some tools are surprisingly simple. Others bring cutting-edge tech right into your hands.
Basic vs. Advanced Tools: A Comparative Look
At the most basic level, your toolkit can be incredibly low-tech. A simple incense stick or a feather can help you visualize air drafts around windows and doors as the smoke or feather wavers. A flashlight is perfect for spotting unsealed gaps in your attic or crawlspace. These methods are a great starting point, but they are like checking your car’s tire pressure by kicking it; you get a general idea, but not a precise measurement.
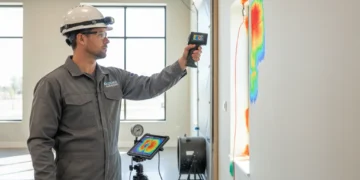
For more accurate results, you need to step up your game. An outlet electricity usage monitor, often called a Kill A Watt meter, is a fantastic investment. You plug it into an outlet and then plug your appliance into it to see exactly how much power it consumes in real-time and over time. The real star of the advanced audit, is an infrared (IR) or thermal camera. What most people miss is how accessible this technology has become. It allows you to literally see heat loss as colorful patches on a screen, revealing poor insulation in walls or leaky window seals that are invisible to the naked eye.
A Department of Energy study highlights that thermal imaging can identify air leakage pathways with up to 87% accuracy, a massive jump from the estimated 45% accuracy of manual methods. But how much does this advanced gear really cost? While professional-grade cameras are expensive, you can buy smartphone attachments for a reasonable price or—even better—rent a high-quality thermal camera from many local tool libraries or hardware stores for a weekend project. Using these tools helps you gather precise data, a notable step in avoiding common home energy mistakes down the line.
Integrating Smart Home Devices for Enhanced Data
The latest trend in DIY audits involves leveraging the smart devices already in many homes. While a manual audit provides a snapshot in time, smart home energy tech offers a continuous live feed of your consumption habits. Devices like smart thermostats (e.g., Nest, Ecobee), smart plugs, and whole-home energy monitors provide an historic level of detail about your usage patterns.
Whole-home monitors, such as the Sense or Emporia Vue, are particularly powerful. These devices attach to your electrical panel and use machine learning to identify the unique electrical signature of individual appliances. Over time, they can tell you not just that your electricity bill was high, but that your old refrigerator in the garage ran for 14 hours last Tuesday, costing you $1.83. The data suggests—though not conclusively for every device—that some monitors can achieve over 95% accuracy in appliance detection after a few weeks of learning. This continuous monitoring is one of the most significant residential energy efficiency trends available to homeowners today.
This approach turns your entire home into a living energy laboratory. Instead of a one-time check, you get ongoing insights that can inform everything from appliance replacement to behavioral changes. By seeing exactly when and how energy is used, you can make targeted adjustments that lead to real savings, creating a integrated and sustainable lifestyle.
With this data in hand, you’re no longer guessing; you’re diagnosing. The next step is to translate these numbers and thermal images into an actionable priority list.
Homeowners often focus on big-ticket items like new windows, but they overlook the cumulative impact of dozens of small, unsealed gaps. Sealing those leaks is often the single most cost-effective energy efficiency upgrade you can make.
— Dr. Anya Sharma, National Renewable Energy Laboratory (NREL)
| Audit Phase | Focus Area | Key Actions |
|---|---|---|
| Phase 1: Exterior | Building Envelope | Inspect foundation, siding, windows, doors, and all wall penetrations for air leaks. |
| Phase 2: Interior | Systems & Appliances | Check attic insulation levels, HVAC filters, ductwork, appliance age, and lighting. |
| Phase 3: Analysis | Data & Prioritization | Organize findings, identify high-impact issues, and create a cost-vs-savings action plan. |
Step-by-Step: Conducting Your detailed Home Energy Audit
Armed with your tools, you’re ready to start the investigation. A DIY home energy audit is like being a detective; you’re looking for clues that reveal where your home is wasting energy and money. We’ll break this down into three distinct phases, moving from the outside in, to ensure a thorough and organized process. This isn’t about finding every single flaw in one go, but about identifying the biggest culprits first.
The goal is to build a clear picture of your home’s energy performance. Let’s get started.
Phase 1: Exterior and Building Envelope Inspection
Your home’s exterior, or its building envelope, is the primary barrier against the elements. Even small gaps can lead to significant energy loss. According to the U.S. Department of Energy, drafts can waste 5% to 30% of your energy use. Your first task is to hunt down these air leaks with a systematic check.
- Foundation and Siding Check: Start at the bottom. Walk the perimeter of your house and look for any cracks or gaps in the foundation. Pay close attention to where the foundation meets the siding. Also, inspect entry points for utilities like water pipes, gas lines, and electrical conduits, as these are common sources of air leakage.
- Windows and Doors Inspection: Examine the weatherstripping and caulk around all windows and doors. Is it cracked, brittle, or missing? On a breezy day, you can often feel drafts with your hand. For a more precise test, use the classic incense stick method—hold it near seams and watch if the smoke wavers, indicating an air leak.
- Roof and Attic Vents: Look for any obvious damage to your roof, vents, and chimney. What most people miss is ensuring that attic vents aren’t blocked by insulation or debris, which can affect airflow and lead to moisture problems. Proper ventilation is just as important as insulation.
- Exterior Wall Penetrations: Check every spot where something goes through an exterior wall. This includes outdoor faucets, dryer vents, and air conditioning lines. These penetrations should be sealed tightly with appropriate caulk or spray foam. A small unsealed gap around a pipe can be a major energy drain.
Completing this exterior check gives you a foundational understanding of your home’s structural integrity. Many of these issues are surprisingly simple fixes but are often overlooked, making them low-hanging fruit for energy savings. Addressing them is one of the key steps in avoiding common home efficiency pitfalls.
Phase 2: Interior Assessment – Appliances and Systems
Now, let’s move indoors to examine the systems and appliances that consume energy. This phase involves checking everything from your furnace to your light bulbs. Think of this as reviewing your home’s metabolism—how efficiently does it use the energy you feed it?
Here’s a checklist to guide your interior inspection:
- Insulation Levels: Head up to your attic. Is the insulation level with or below your floor joists? If you can see the joists, you likely need more. Measure the depth; most regions require at least 12 to 15 inches of fiberglass or cellulose insulation (R-38 to R-49). Don’t forget to check the insulation in your basement and crawl spaces.
- HVAC System & Ductwork: Inspect your heating, ventilation, and air conditioning (HVAC) system. Check the filter and replace it if it’s dirty—a clogged filter can increase energy consumption by up to 15%. Also, examine accessible ductwork for leaks. I suspect that leaky ducts in unconditioned spaces (like attics or basements) are one of the most underrated energy wasters in modern homes. You can seal joints with mastic sealant or metal-backed tape.
- Appliance and Electronics Audit: List your major appliances (refrigerator, dishwasher, washer, dryer) and check their age and Energy Star ratings. An older refrigerator, for example, could be costing you significantly more to run than a new, efficient model. Also, identify “vampire loads”—electronics that draw power even when turned off. A smart power strip can solve this problem easily.
- Lighting Review: Walk through your home and count how many incandescent or halogen bulbs are still in use. Replacing just five of your most frequently used bulbs with energy-efficient LEDs can save you over $75 a year. This is a simple change that’s part of many modern residential energy efficiency trends.
Phase 3: Interpreting Your Findings and Prioritizing Fixes
You’ve gathered a lot of data. Now what? The final phase is to analyze your findings and create a prioritized action plan. Don’t feel overwhelmed by the list of issues you’ve uncovered. The key is to focus on the tasks that offer the biggest return on your investment of time and money.
Start by categorizing your list into three groups: easy weekend fixes, projects requiring a bit more skill, and jobs for a professional. Sealing a drafty window with caulk is an easy win. Adding attic insulation might be a more involved weekend project. But repairing a faulty HVAC system probably requires a certified technician.
To prioritize, consider both cost and impact. Creating a simple chart can help. A new smart thermostat might cost a couple of hundred dollars but could reduce your heating and cooling bills by 10-12% annually, offering a quick payback period. Comparing this to other upgrades is similar to how you might approach a head-to-head comparison of top solar systems, weighing initial cost against long-term savings. Your audit results provide the raw data to make these informed decisions, turning a list of problems into a strategic plan for a more efficient home.
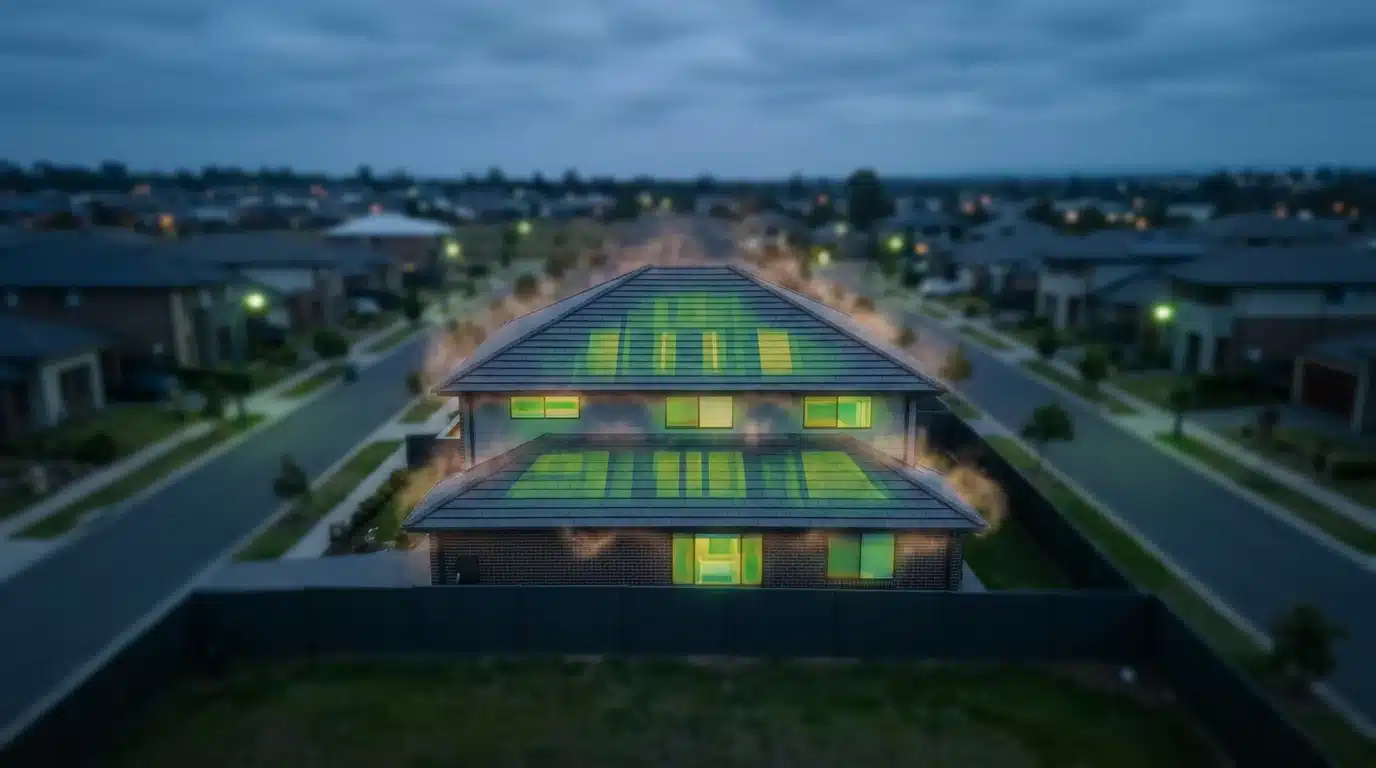
Leveraging Data: Analyzing Findings and Prioritizing Upgrades
You’ve completed the fieldwork of your DIY home energy audit, armed with a clipboard full of notes, photos, and meter readings. Now comes the part where you transform that raw information into a coherent action plan. This stage is less about hunting for drafts and more about playing detective with the data to uncover the biggest energy criminals hiding in your home. It’s about making smart financial decisions, not just plugging holes.
The first step is to organize your findings into logical categories: air sealing, insulation, appliances and electronics, lighting, and HVAC systems. Create a simple spreadsheet or use a notebook to list each issue you found, noting its location and severity. What most people miss is the power of simple prioritization. A traffic-light system works well here: red for urgent, high-impact fixes; yellow for important but less critical tasks; and green for minor tweaks you can do anytime.
Translating Raw Data into Actionable Insights
With your findings categorized, you can begin to connect the dots. That chilly corner in the living room probably corresponds to the gap you found under the window sill. Your surprisingly high electricity bill might be linked to the old refrigerator in the garage—a surprisingly common energy vampire. A study from Lawrence Berkeley National Laboratory suggests that miscellaneous energy loads from electronics can account for up to 23% of a home’s electricity consumption. This is where data makes the invisible visible.
So, how do you decide what to tackle first? Modern energy monitoring apps can help by analyzing your smart meter data to pinpoint which appliances are the biggest power hogs. These tools are becoming required for anyone serious about future-proofing their home’s efficiency. By combining your physical audit findings with this digital data, you get a complete picture of where your money is going each month. This creates a clear hierarchy of what needs immediate attention.
This is a common trap.
Many homeowners jump straight to expensive upgrades without addressing the foundational issues. Before considering a major HVAC replacement, ensure your home’s envelope is properly sealed and insulated. Fixing the leaks is like putting on a jacket before turning up the thermostat; it makes everything else you do far more effective. Think of it as preparing the canvas before you start painting.
The Payback Period: Calculating Your Return on Investment
Every energy upgrade is an investment, and you should know when to expect a return. The payback period is a simple calculation: divide the total cost of the upgrade by the estimated annual energy savings. This figure tells you how many years it will take for the project to pay for itself. For example, spending $150 on weatherstripping and caulk that saves you $50 per year has a quick three-year payback period. A new high-efficiency furnace might cost $5,000 but save $400 annually, resulting in a 12.5-year payback.
Consider the recent experience of the Garcia family in Austin, Texas. Their audit revealed significant air leakage around recessed lighting and a 15-year-old, inefficient water heater. Their action plan focused on two key areas:
- Low-Cost Fixes: They spent $95 on specialized recessed light covers and foam sealant, which they installed themselves. This immediately reduced drafts and cut their HVAC runtime.
- High-Impact Upgrade: They replaced the old water heater with a new ENERGY STAR certified heat pump model for $1,800 after rebates.
The combined changes resulted in verified monthly savings of approximately $48. The total investment of $1,895 will have a payback period of just over 3.3 years. By starting with a clear plan, they avoided one of the most common pitfalls in home energy projects: spending money without a clear ROI. A detailed comparison of systems, like in our guide to residential solar and efficiency, can help you make similar informed choices.
Your finished audit analysis isn’t just a to-do list; it’s a financial roadmap for your home’s future performance and a key step toward achieving greater energy independence. This plan becomes the foundation upon which all future efficiency decisions are built.
Emerging Trends in Home Energy Efficiency for the Savvy Auditor
Completing a DIY home energy audit is a powerful first step, but the ground beneath our feet is shifting. The next frontier of efficiency isn’t just about sealing leaks; it’s about intelligent automation and connectivity. We’re moving from a static model of saving energy to a dynamic one where your home actively manages its power consumption.
At the forefront are AI-powered energy management systems and smart grid integration. Think of these systems as a traffic app for your home’s electricity. They analyze real-time utility pricing and your personal usage patterns to automatically optimize when your high-draw appliances run. According to research from the Lawrence Berkeley National Laboratory, households using these smart technologies can see an additional 10-15% reduction in their energy bills on top of traditional efficiency upgrades. This goes far beyond just having a smart thermostat.
But how does this connect to bigger-picture changes? The rise of distributed renewable energy sources, like rooftop solar panels, makes this integration required. Your home is no longer just a consumer of electricity; it’s a potential producer. Smart systems help manage this two-way flow, ensuring grid stability while maximizing your return on investment from your panels. Properly integrating solar into your lifestyle becomes a smooth process instead of a complicated chore.
Your home is becoming an active participant in the energy grid.
What most people miss is that these advancements make the skills you’ve learned from your audit even more valuable. Understanding your home’s energy baseline is the key to programming and getting the most out of these future systems. As you explore cutting-edge residential solar and efficiency trends, remember that the core knowledge of where your energy goes is the foundation for managing the intelligent, responsive home of tomorrow.
From Audit to Ecosystem: The Future of Your Home
Completing a DIY energy audit is more than just a one-time project to fix a few drafts; it’s the first step toward fundamentally changing your relationship with your home. Instead of viewing it as a static structure that consumes resources, you can begin to see it as a dynamic ecosystem that you can tune and optimize. The data you’ve gathered provides a baseline, a starting point for a continuous cycle of monitoring, adjusting, and improving.
As smart home technology becomes more integrated, the line between a manual audit and real-time energy management will blur. Your home will be able to flag inefficiencies for you, suggesting when to run the dishwasher or identifying an appliance that’s nearing the end of its efficient life. Is the ultimate goal, then, not just to have an efficient home, but a responsive one? A home that actively collaborates with you to conserve resources might be the new standard of modern living, and it all starts with that first curious walk-through, clipboard in hand.
Frequently Asked Questions About Home Energy Audits
1. How often should I perform a DIY home energy audit?
A thorough DIY audit is recommended every two to three years. you should perform mini-audits seasonally, especially before winter and summer, to check for new drafts or issues with your heating and cooling systems. This ensures your home remains efficient as it settles and ages.
2. What’s the most common area for energy loss in a home?
The most common sources of energy loss are air leaks in the building envelope—gaps around windows, doors, and foundations—and inadequate insulation, particularly in the attic. Together, these issues can account for a substantial portion of a home’s heating and cooling costs.
3. Can a DIY energy audit really save me significant money?
Absolutely. By identifying and fixing major sources of energy waste like air leaks and phantom loads, a DIY audit can help you save anywhere from 5% to 30% on your energy bills. The key is to follow through on your findings and prioritize the fixes that offer the best return.
4. When should I hire a professional energy auditor instead?
You should hire a professional if you’re planning a major renovation, trying to solve complex issues like moisture or ventilation problems, or want to qualify for certain energy efficiency rebates. Professionals use specialized equipment like blower doors to get precise measurements that are beyond the scope of a typical DIY audit.
5. Are there any free tools or apps for basic energy auditing?
Yes, many utility companies offer free online energy calculators that analyze your usage based on your past bills. apps from smart device manufacturers can track real-time consumption, and you can use simple items like an incense stick to detect drafts around your home without any cost.